Creating a Command-Line Project
Xcode is a large application that serves several purposes for software developers.
Many different types of projects can be created for different Apple platforms.
This short tutorial will show you how to create a command-line project that runs on macOS.
Create the project
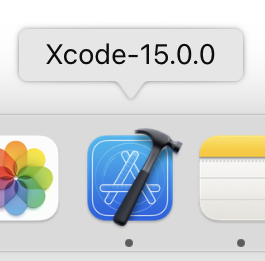
To create a playground, make sure that Xcode is in the foreground on your computer by clicking it's icon in the Dock:
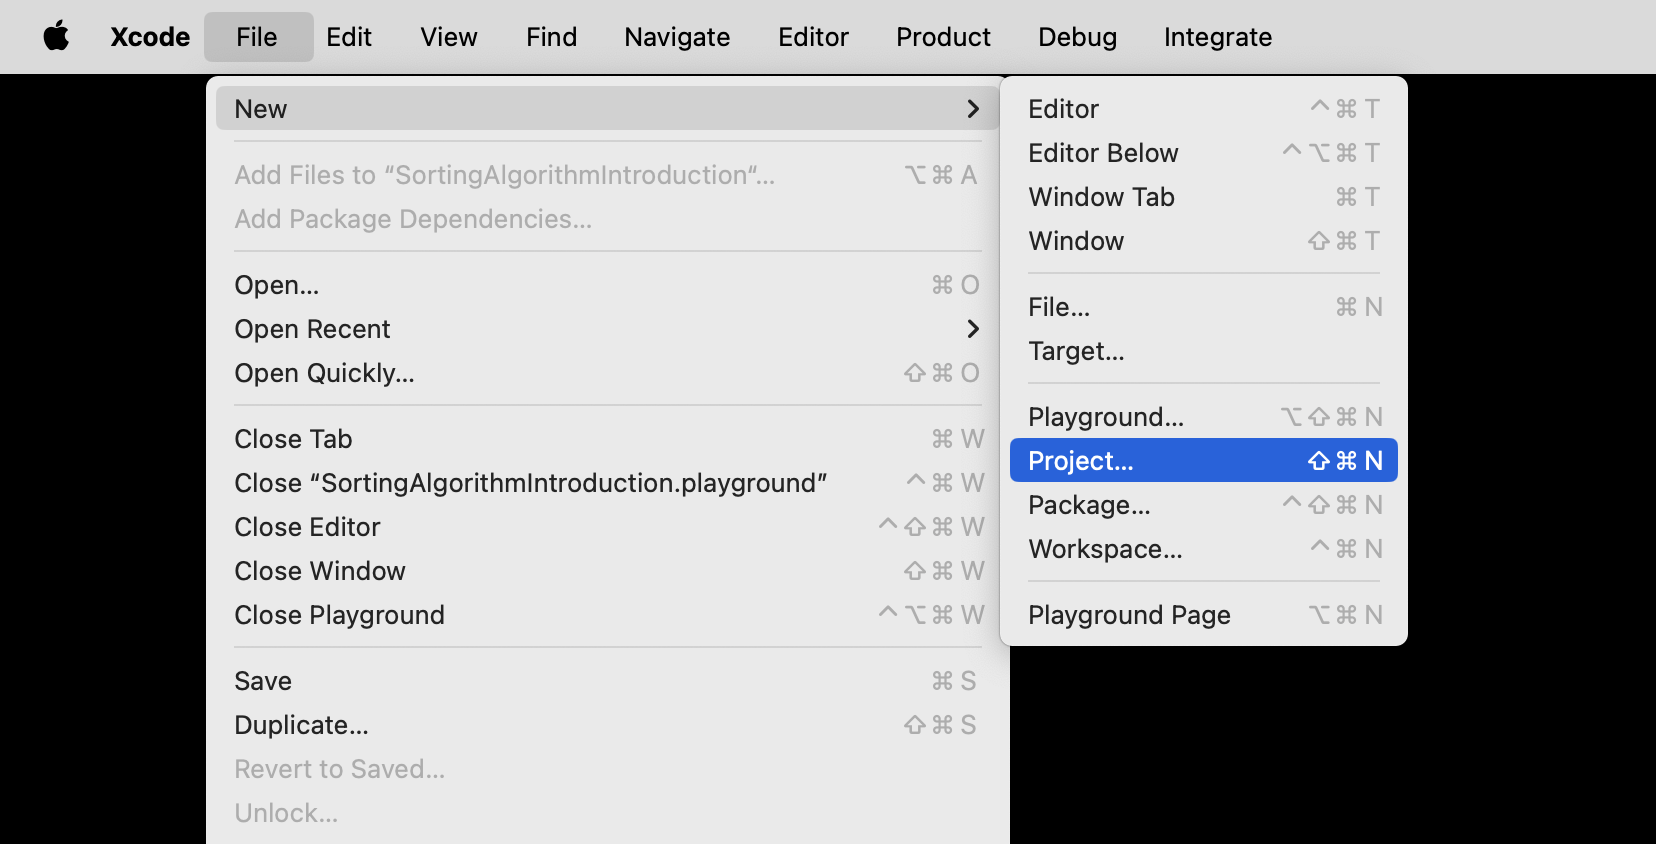
From the menu bar at top left, choose File > New > Project...:
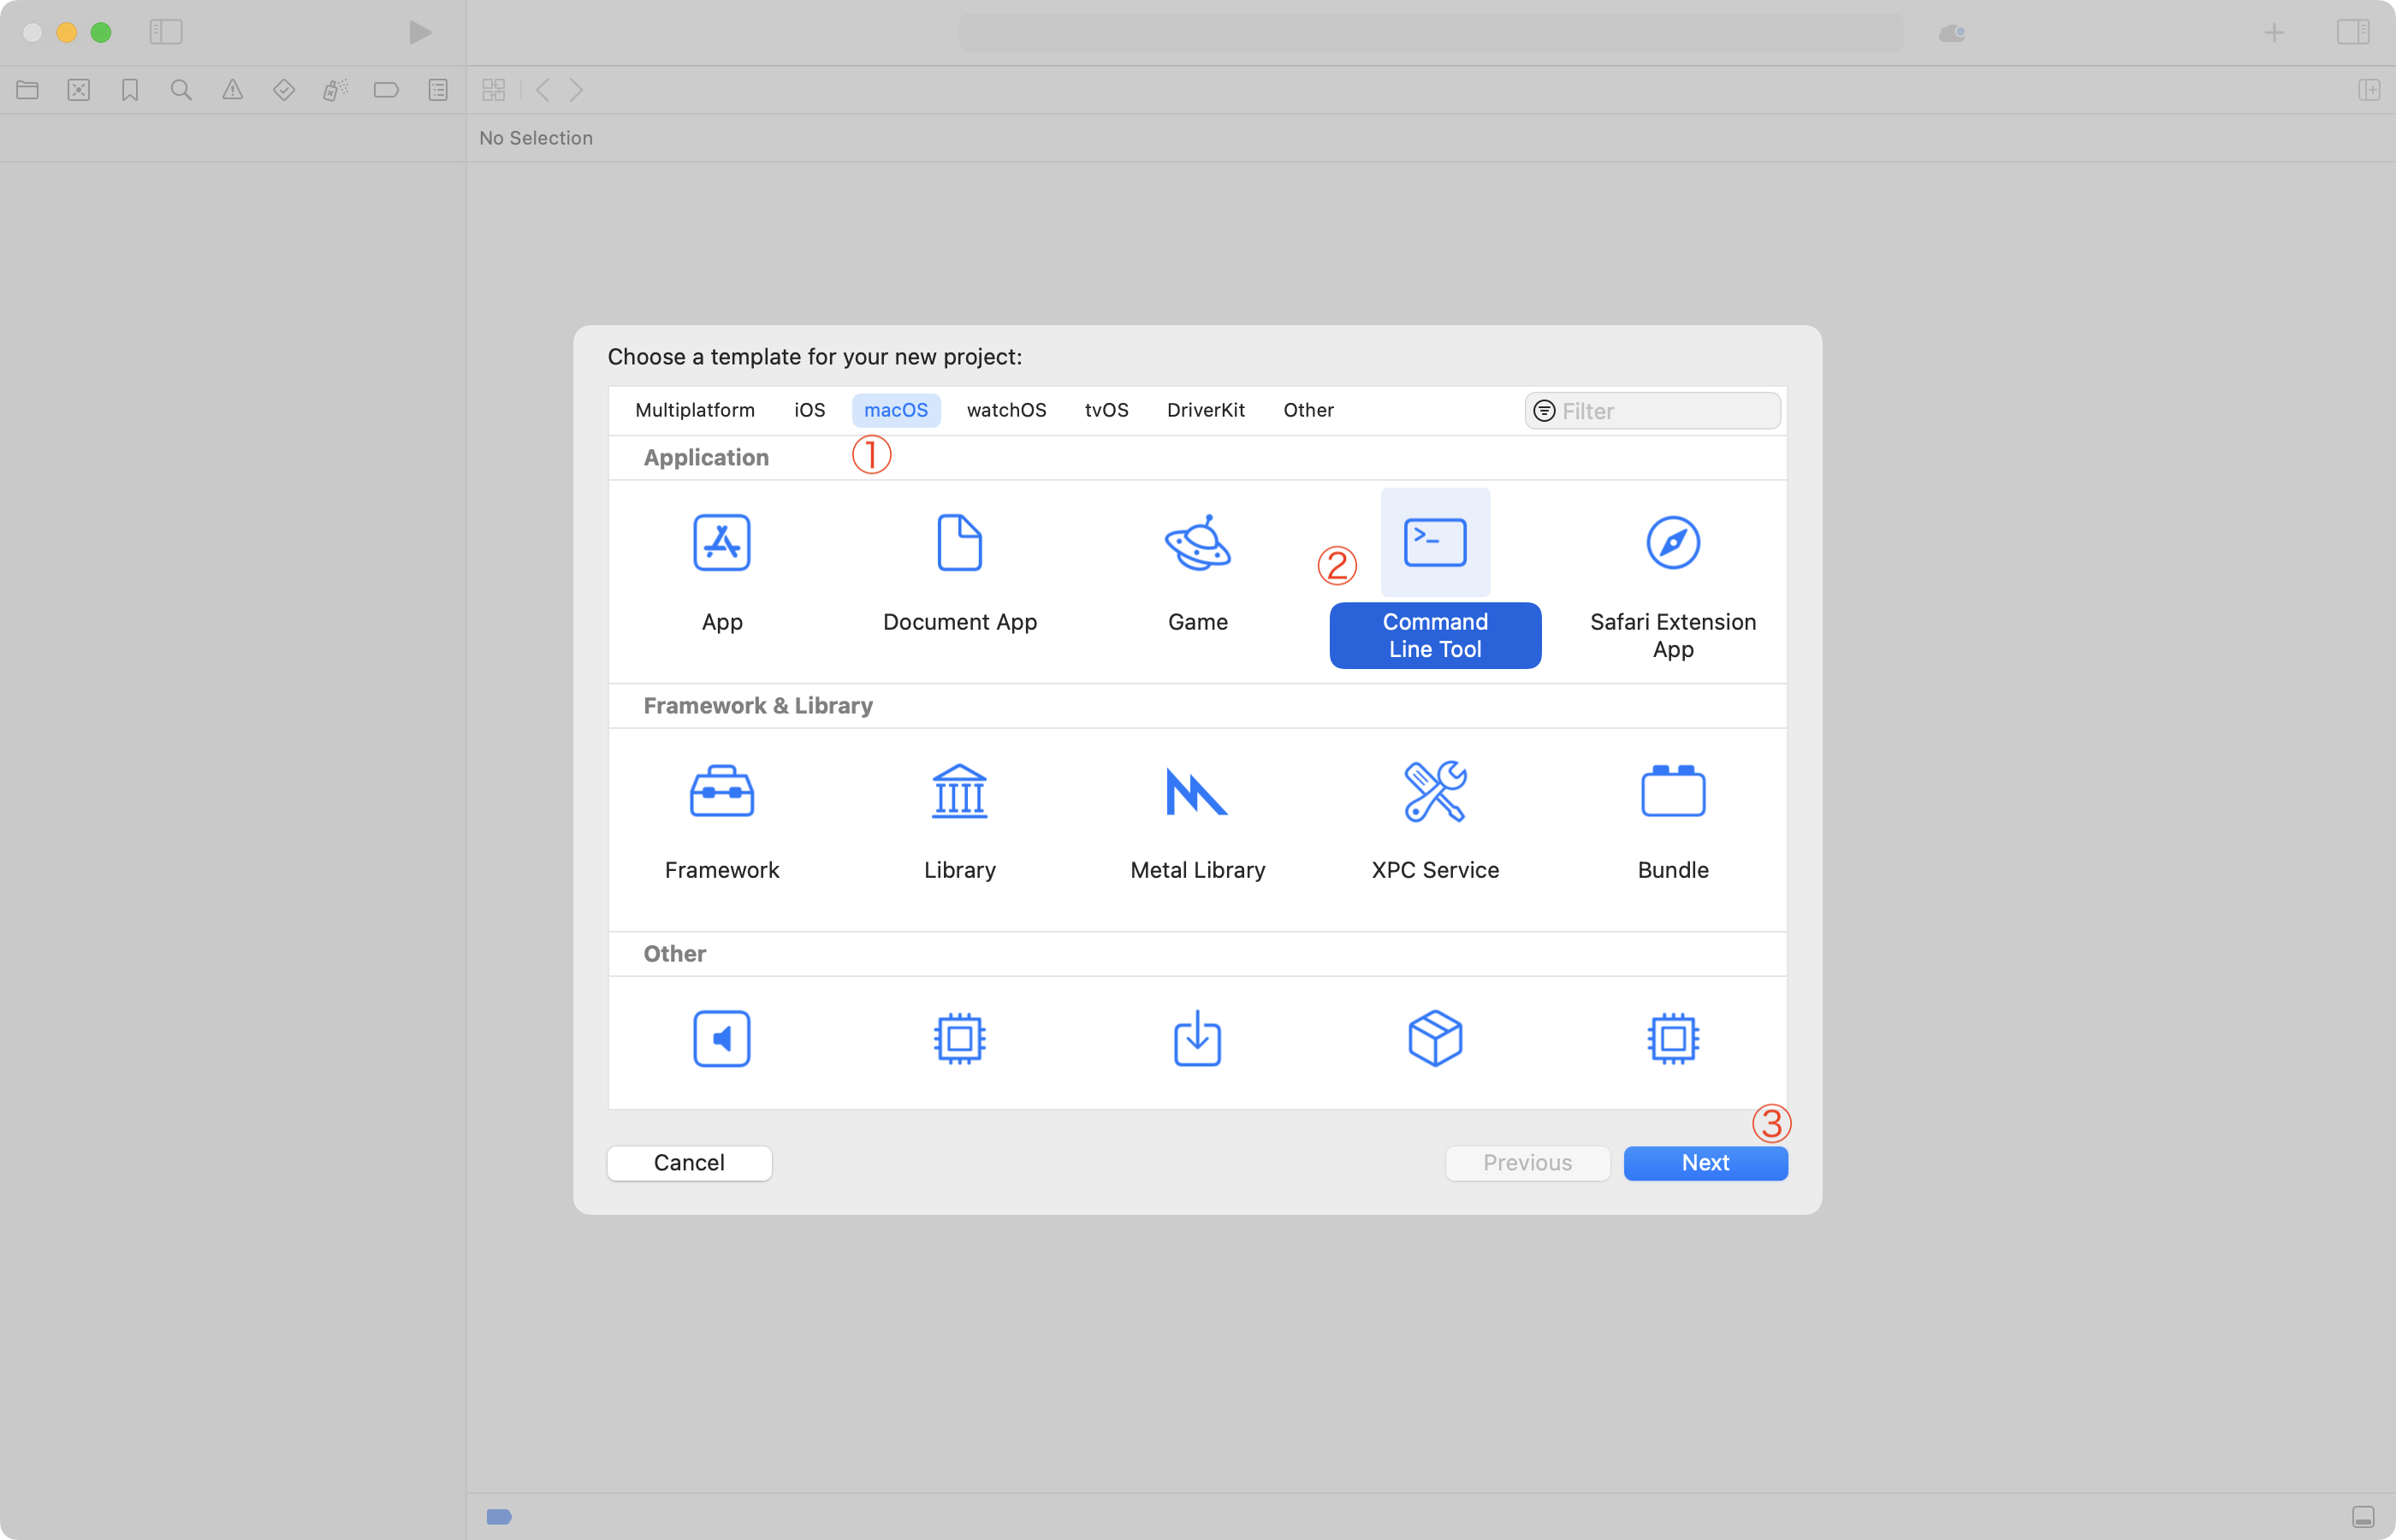
You will see the following window – here, choose the macOS tab, then Command Line Tool, and then Next:
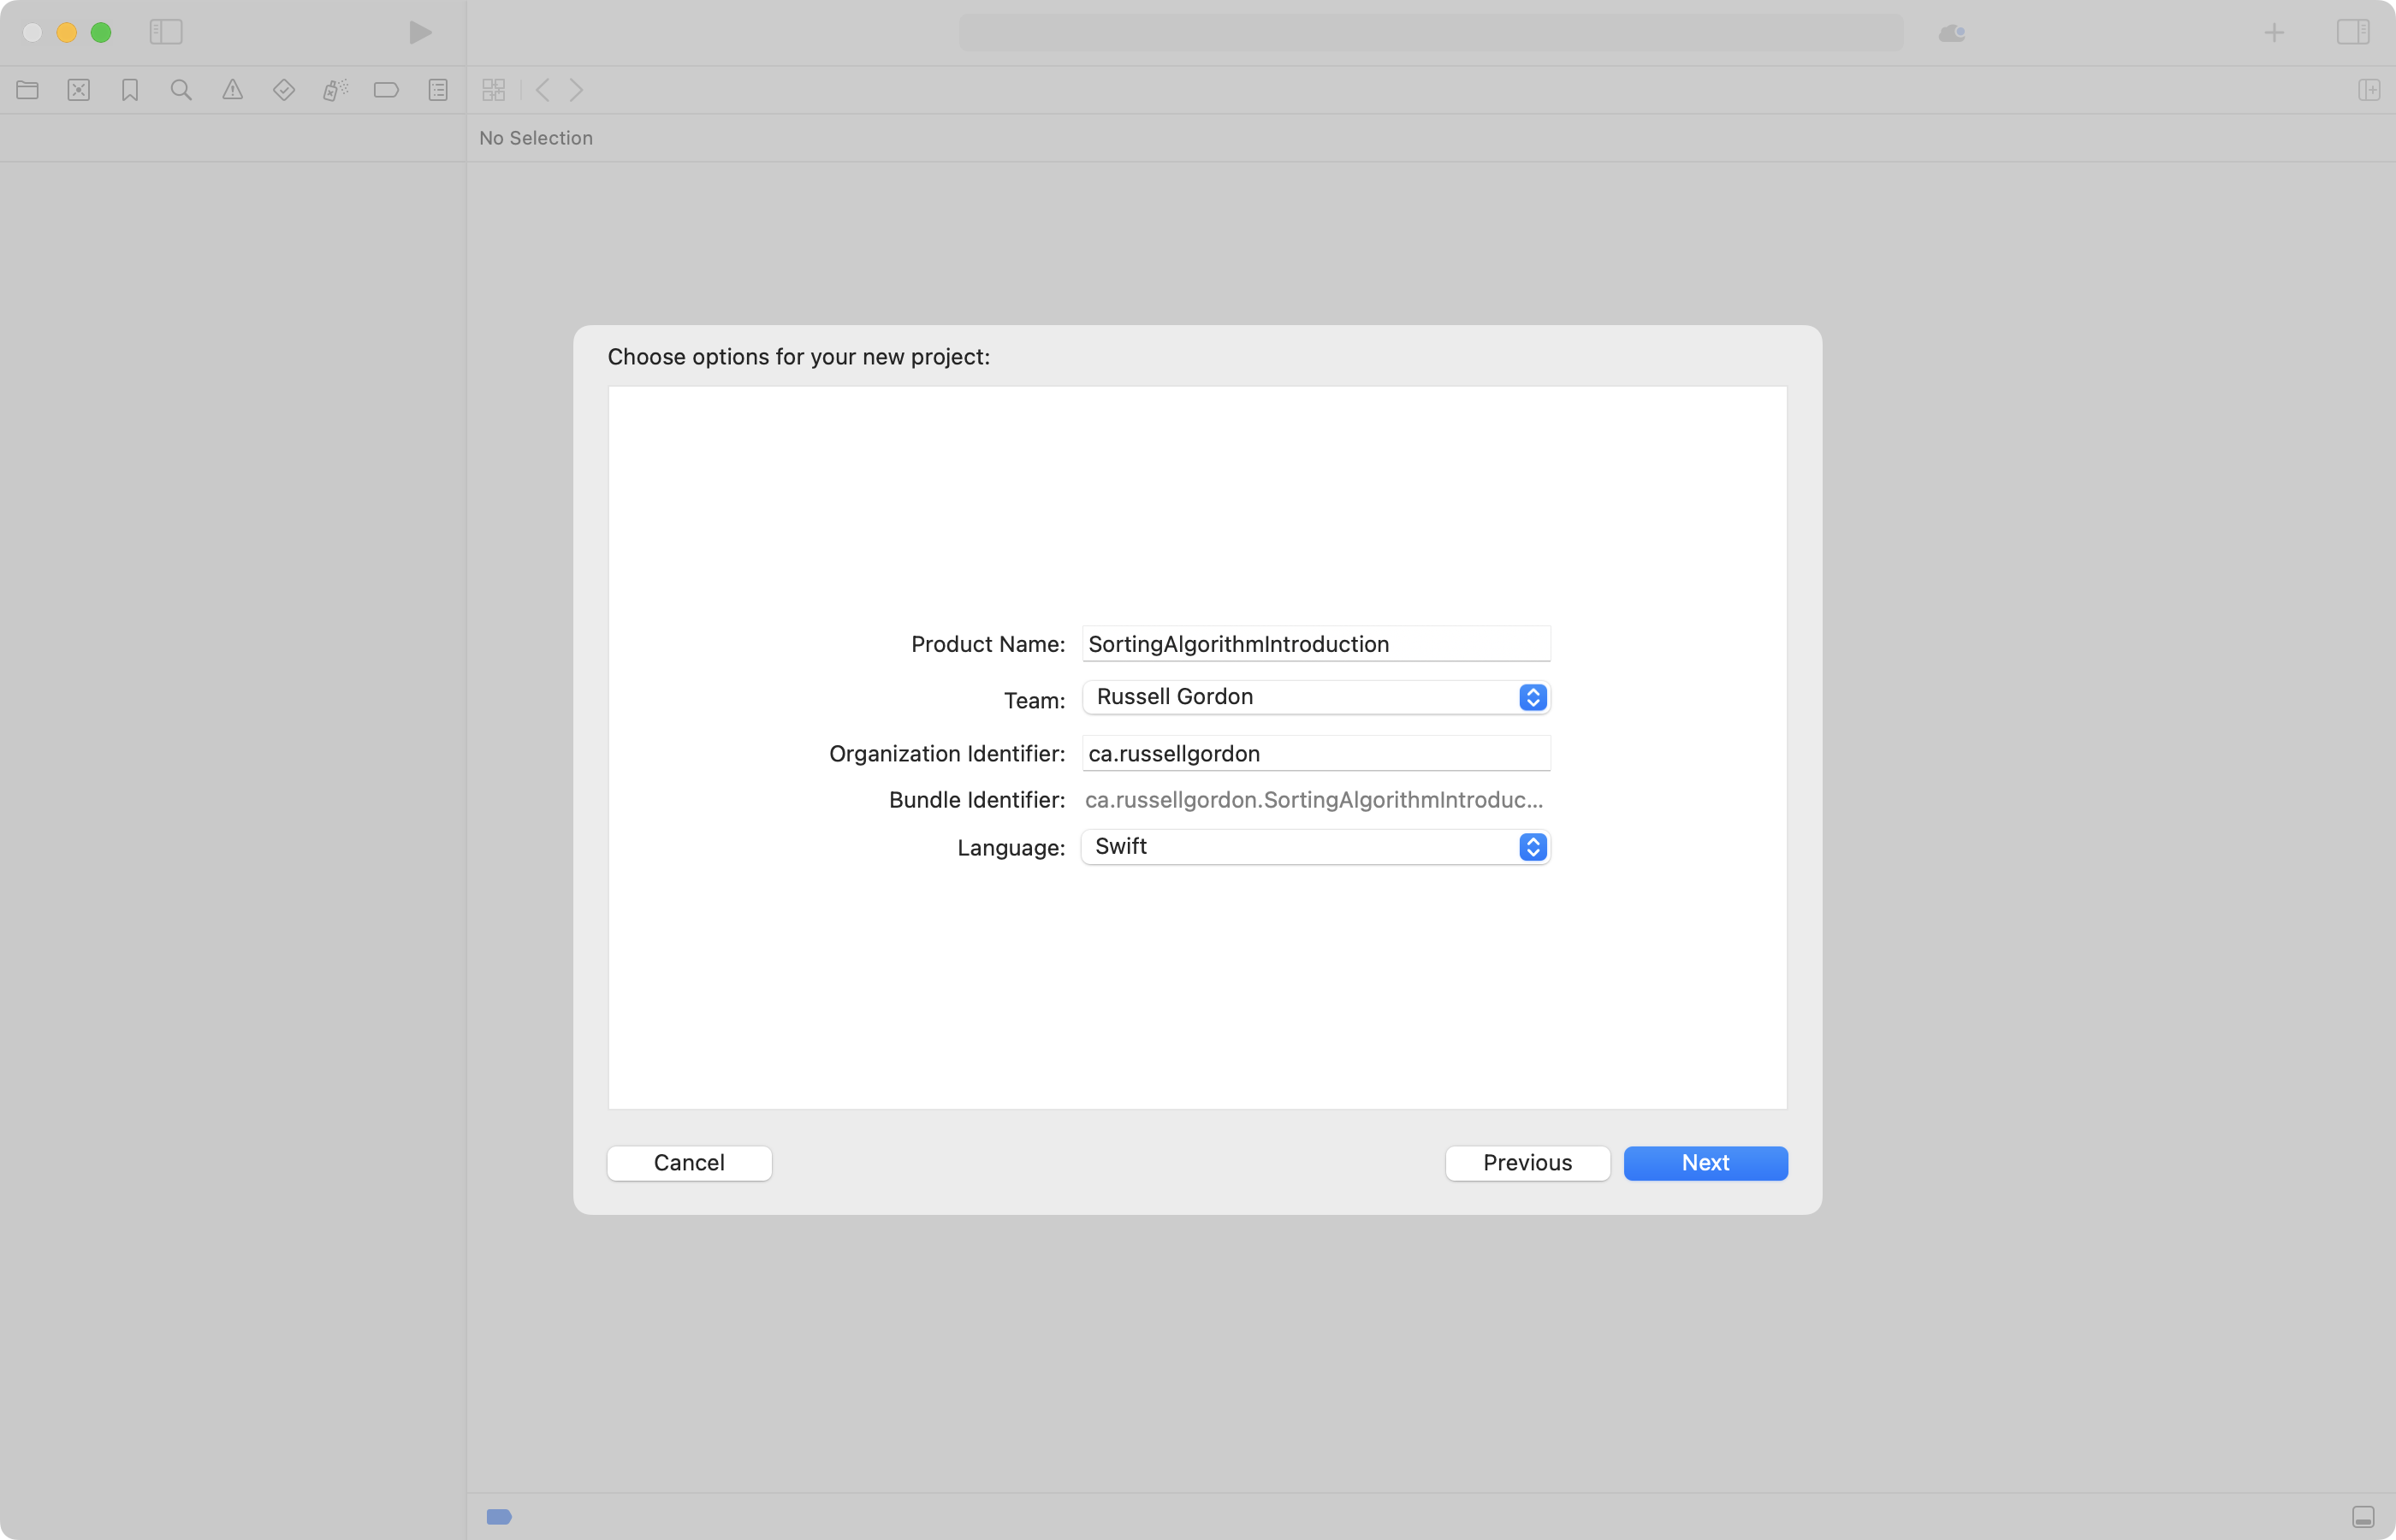
On the next screen, give your project a descriptive name, based on what idea you are exploring – in this example, sorting algorithms – then click Next:
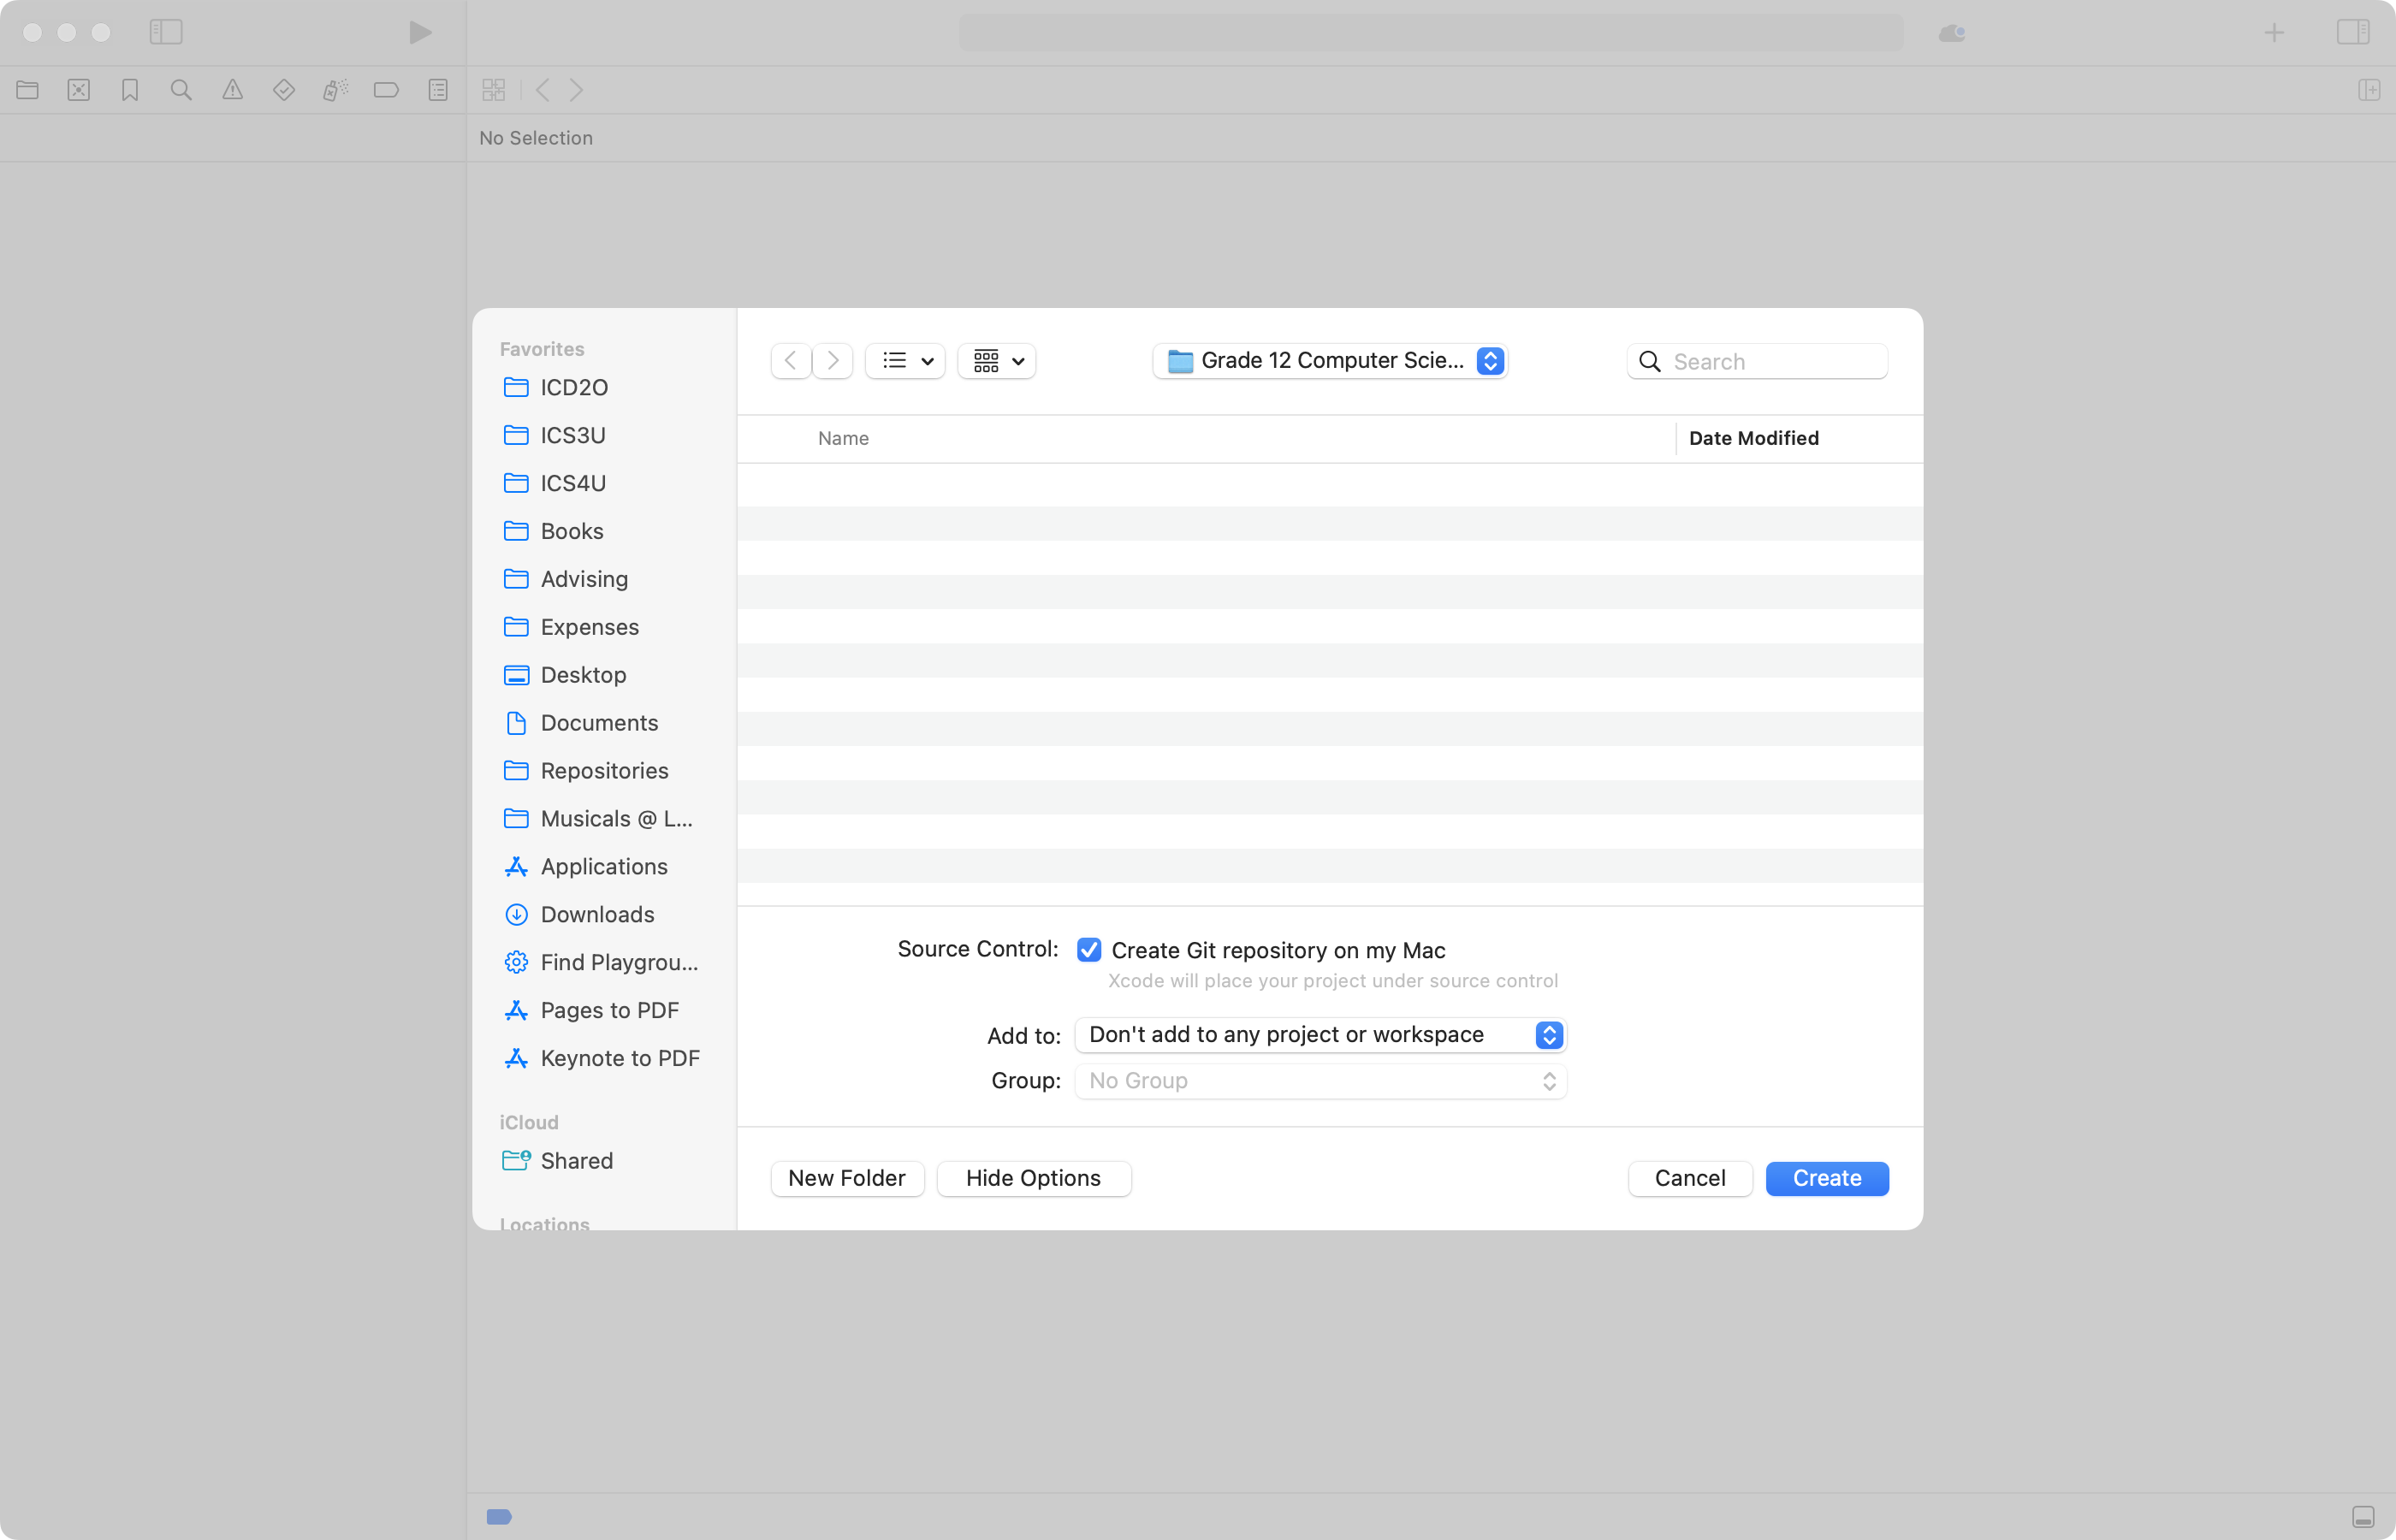
On the next screen, choose where to save your project – and whether you want to keep track of revisions using source control (usually yes):
Begin coding
You will see the following when your project first opens:
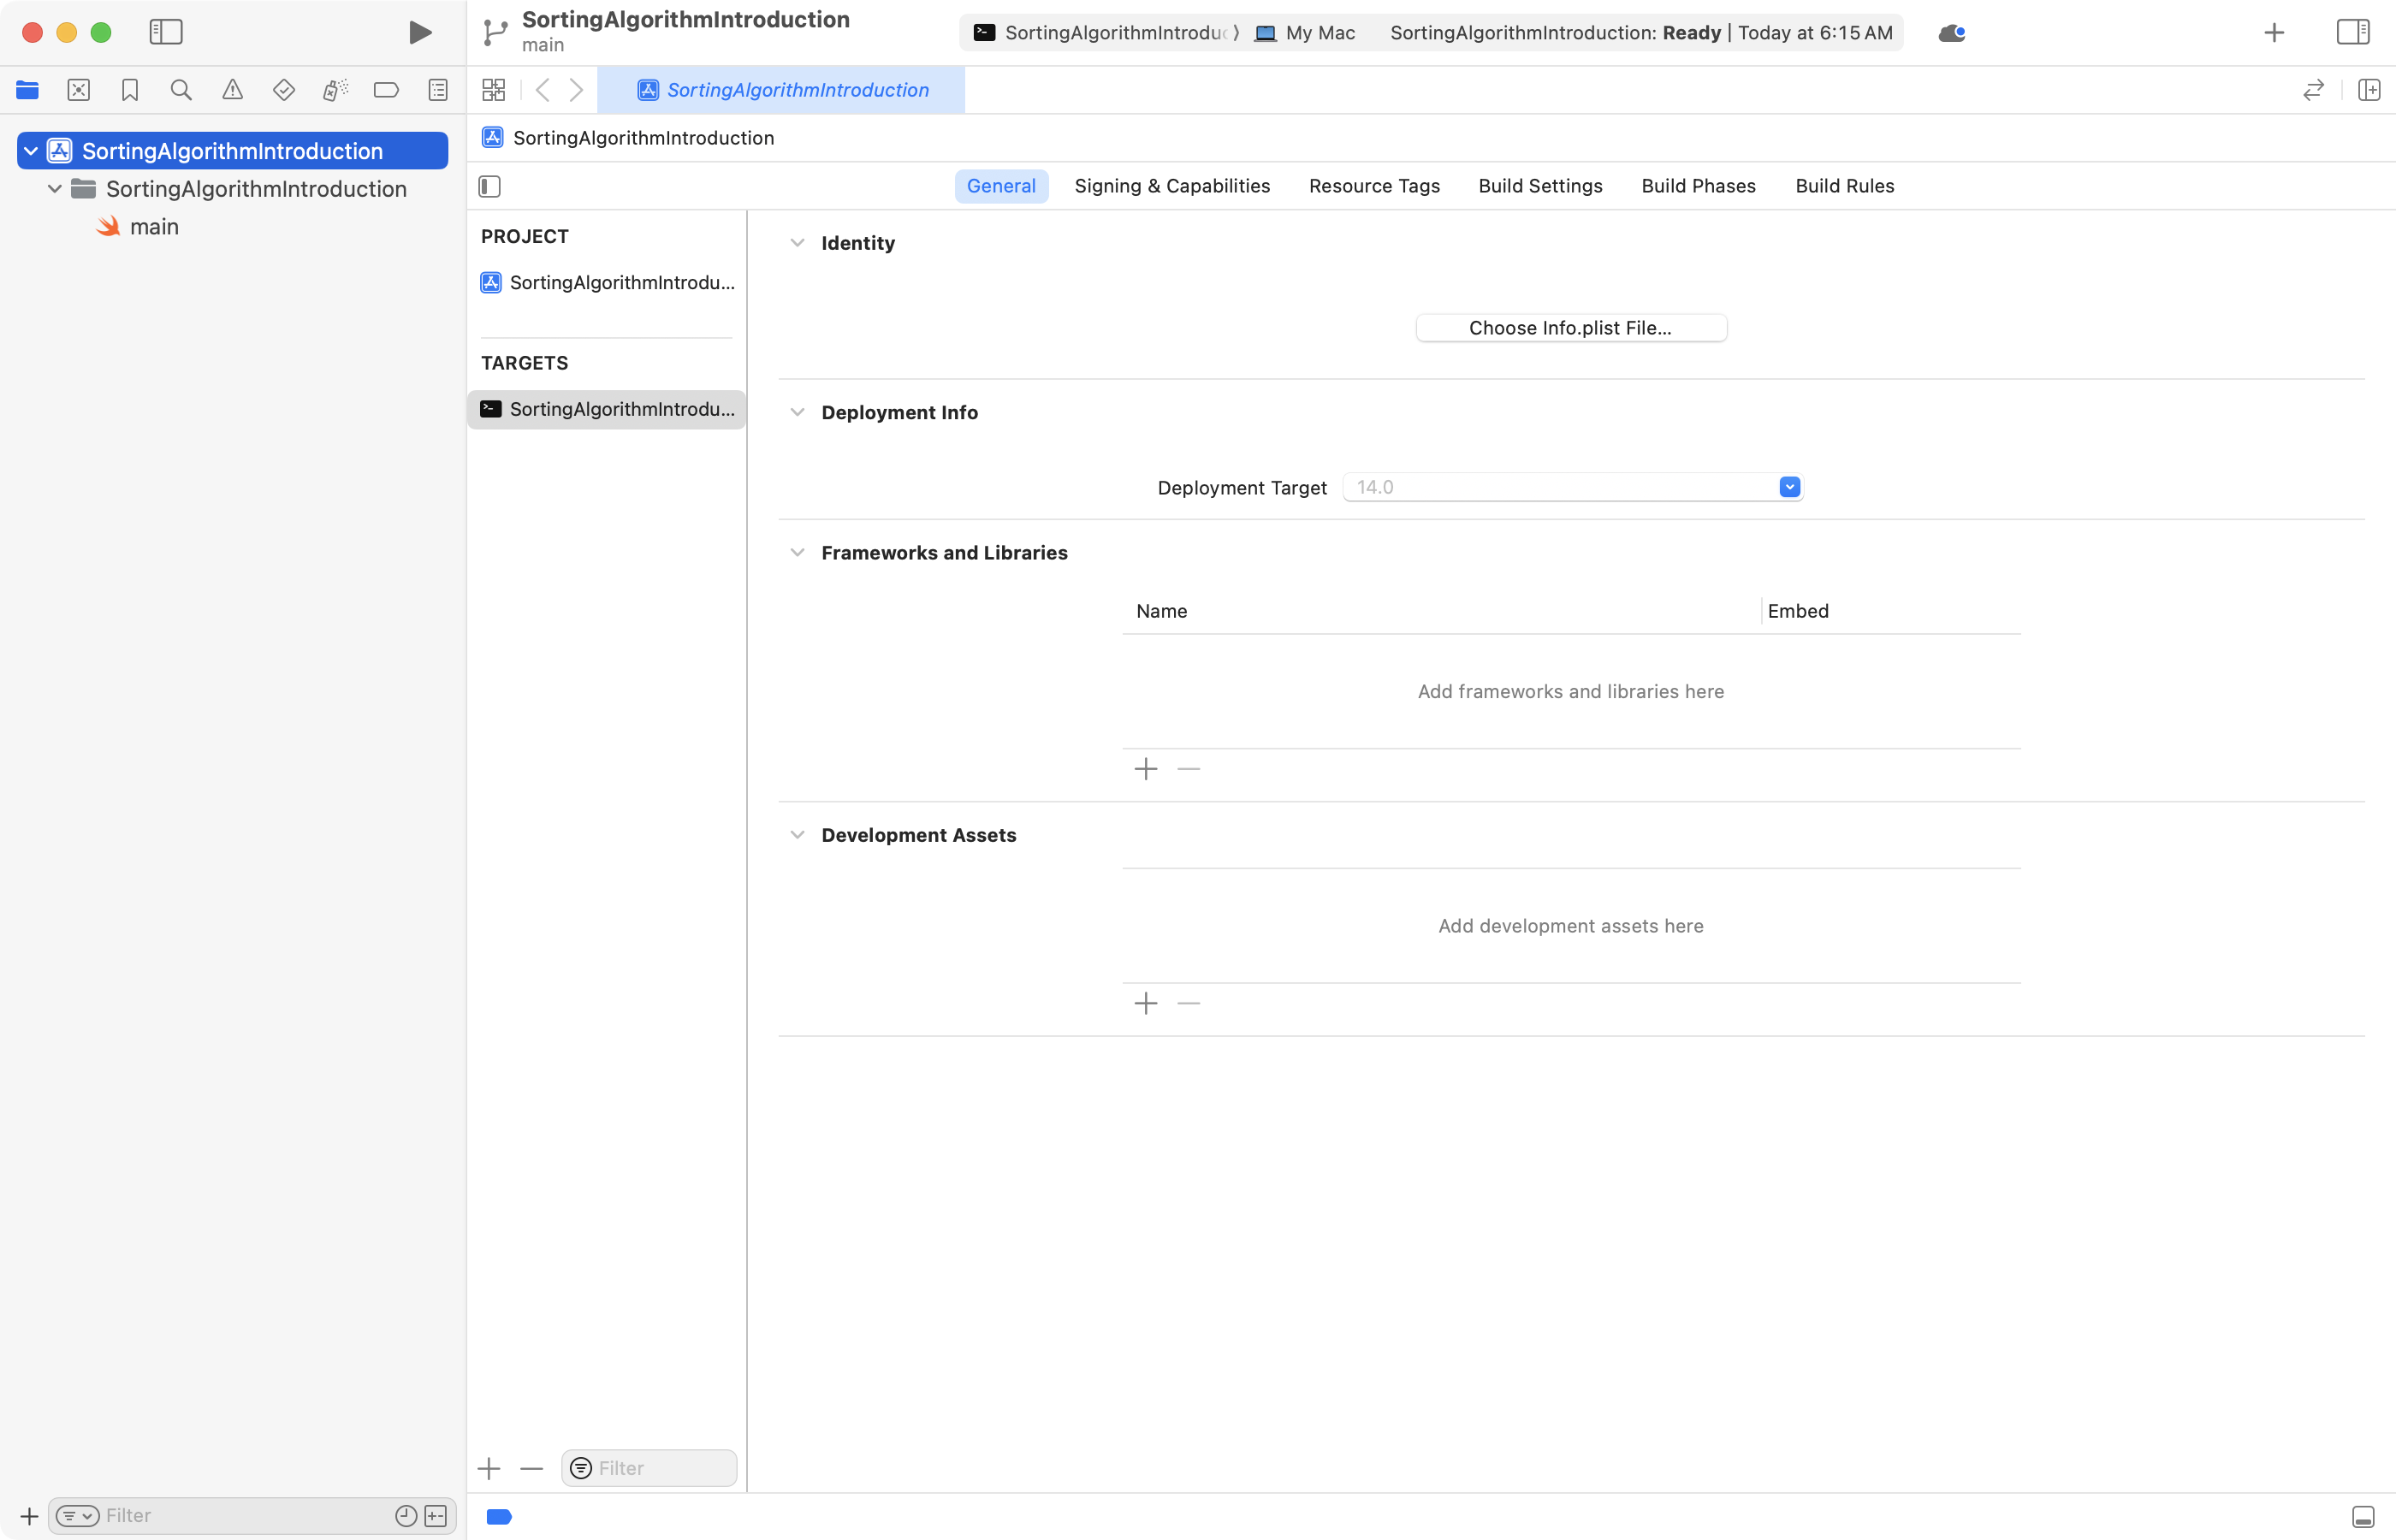
This is the screen where you can configure how the command-line project will be compiled into an actual executable application on your computer.
Normally, no changes are required here. So, switch to the main.swift file using the Project Navigator at left:
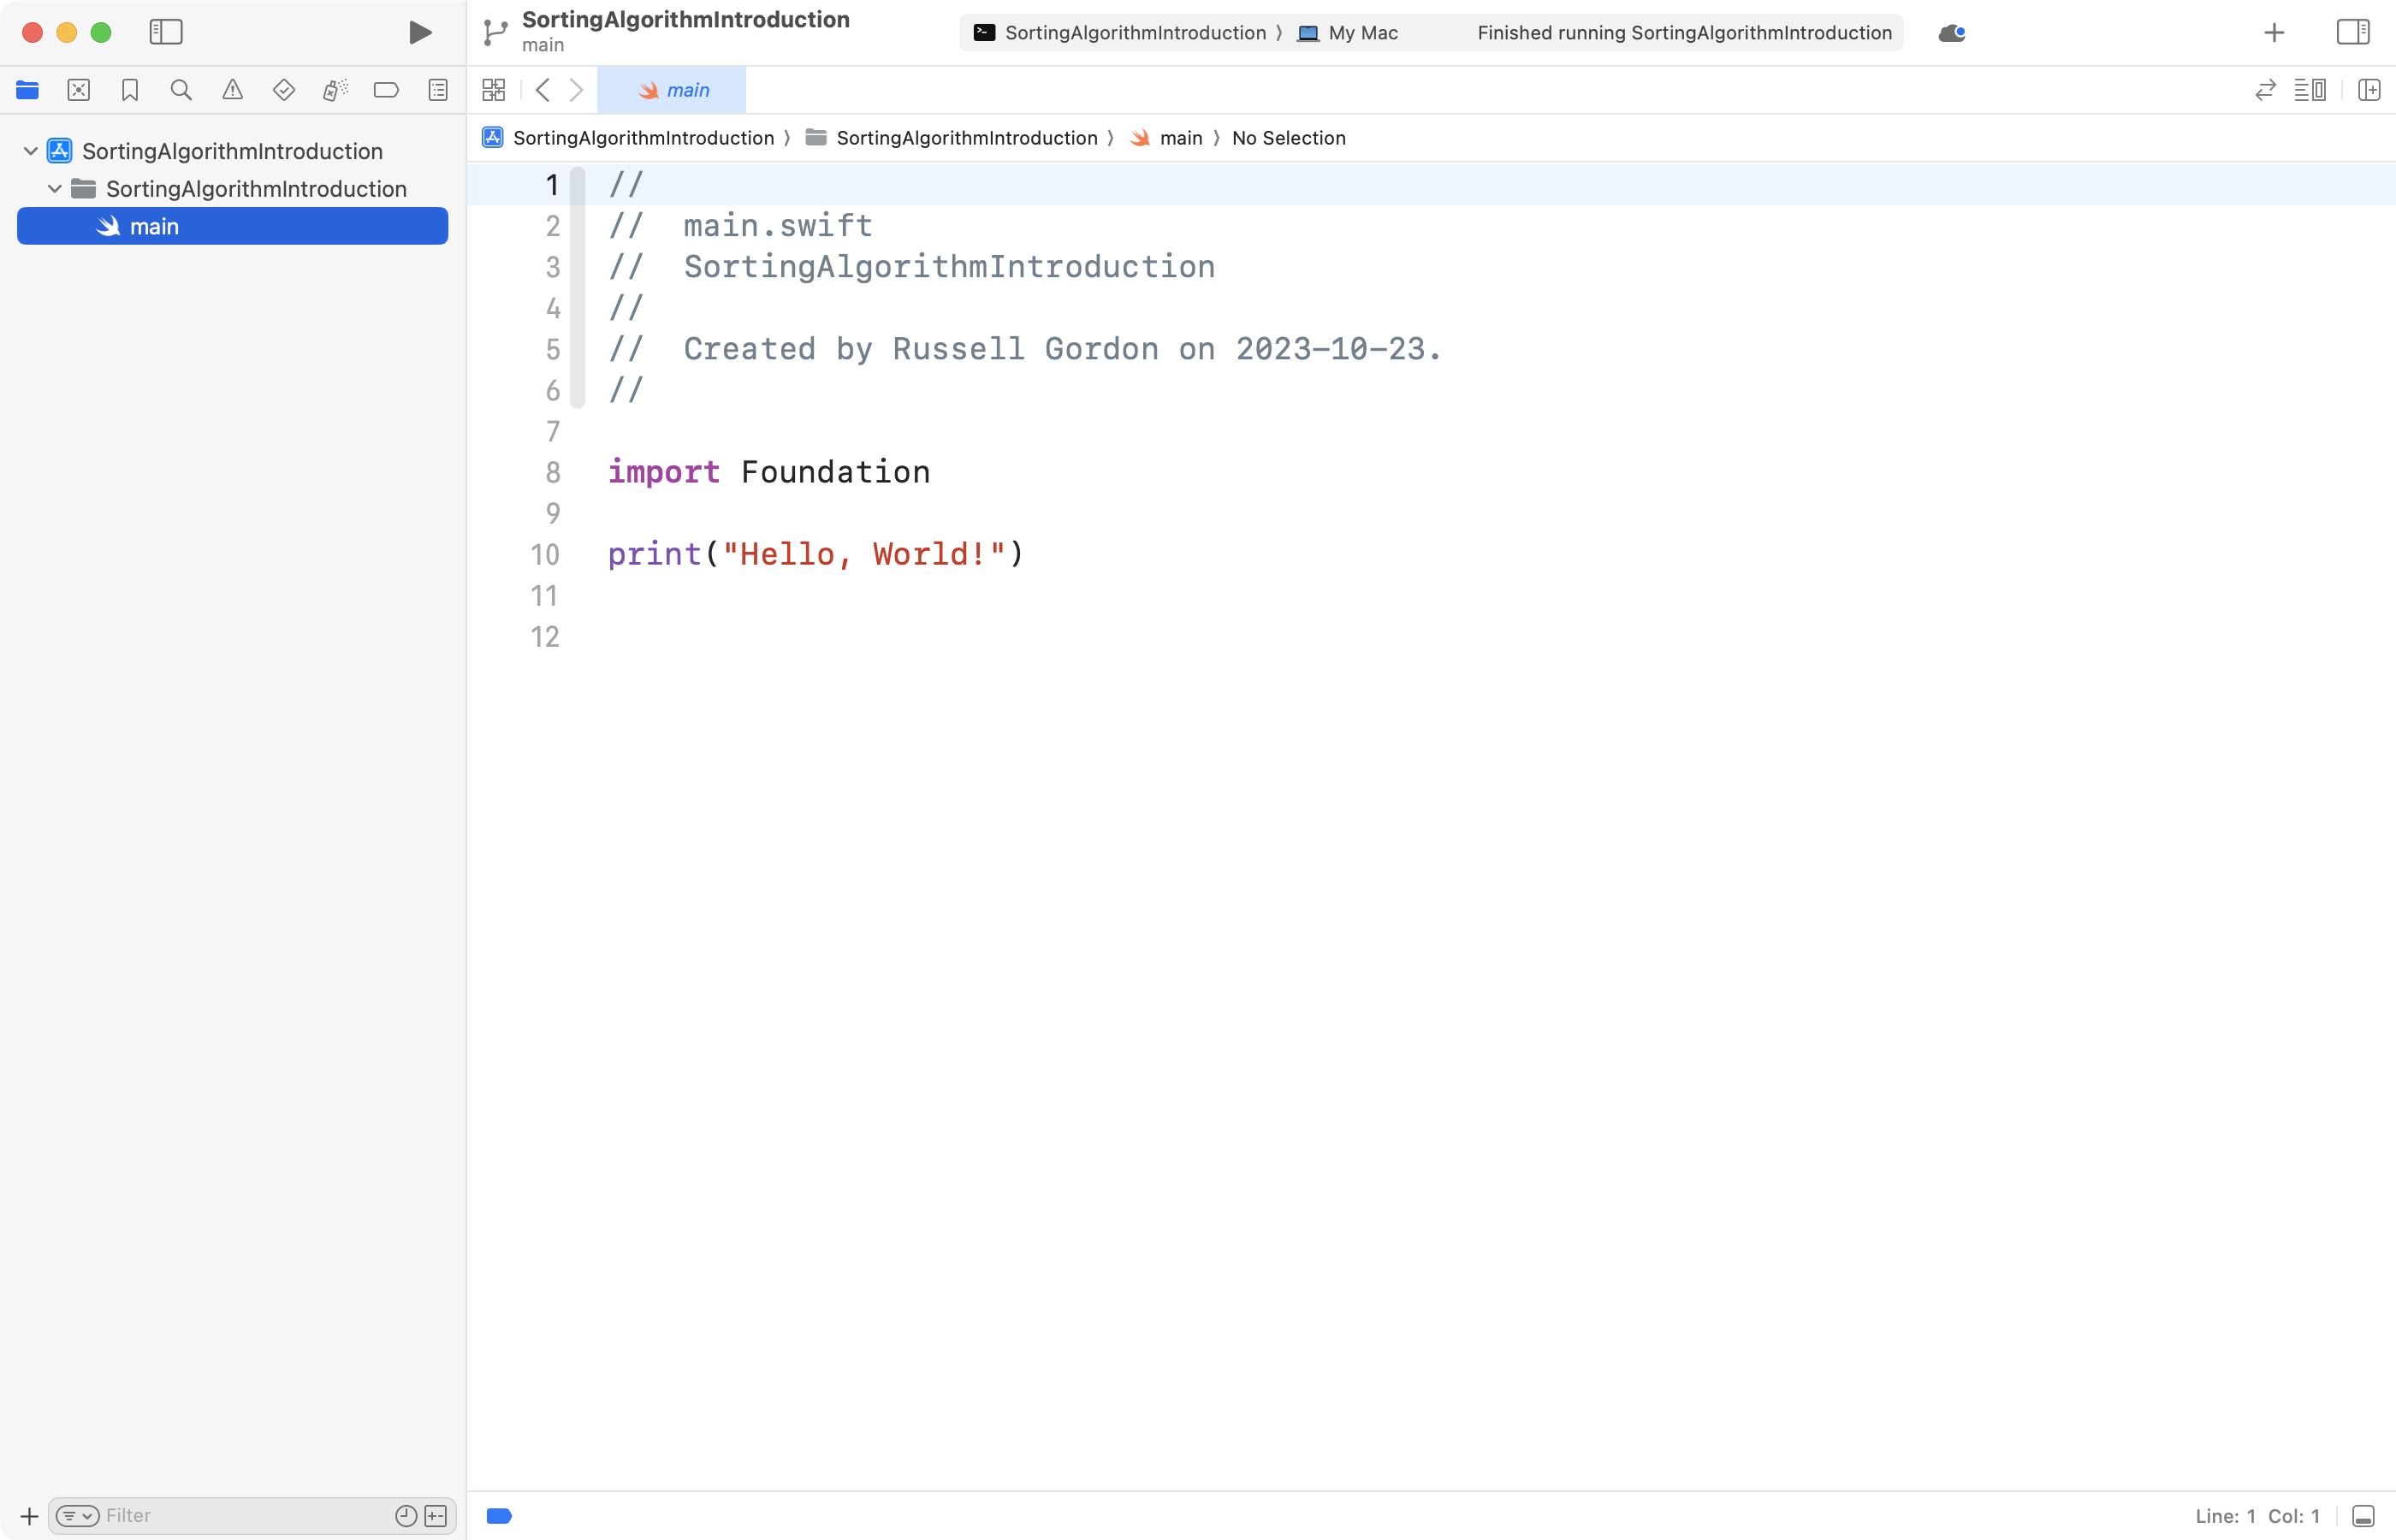
You can then run your command line program using Command-R.
Output will appear below the code window:
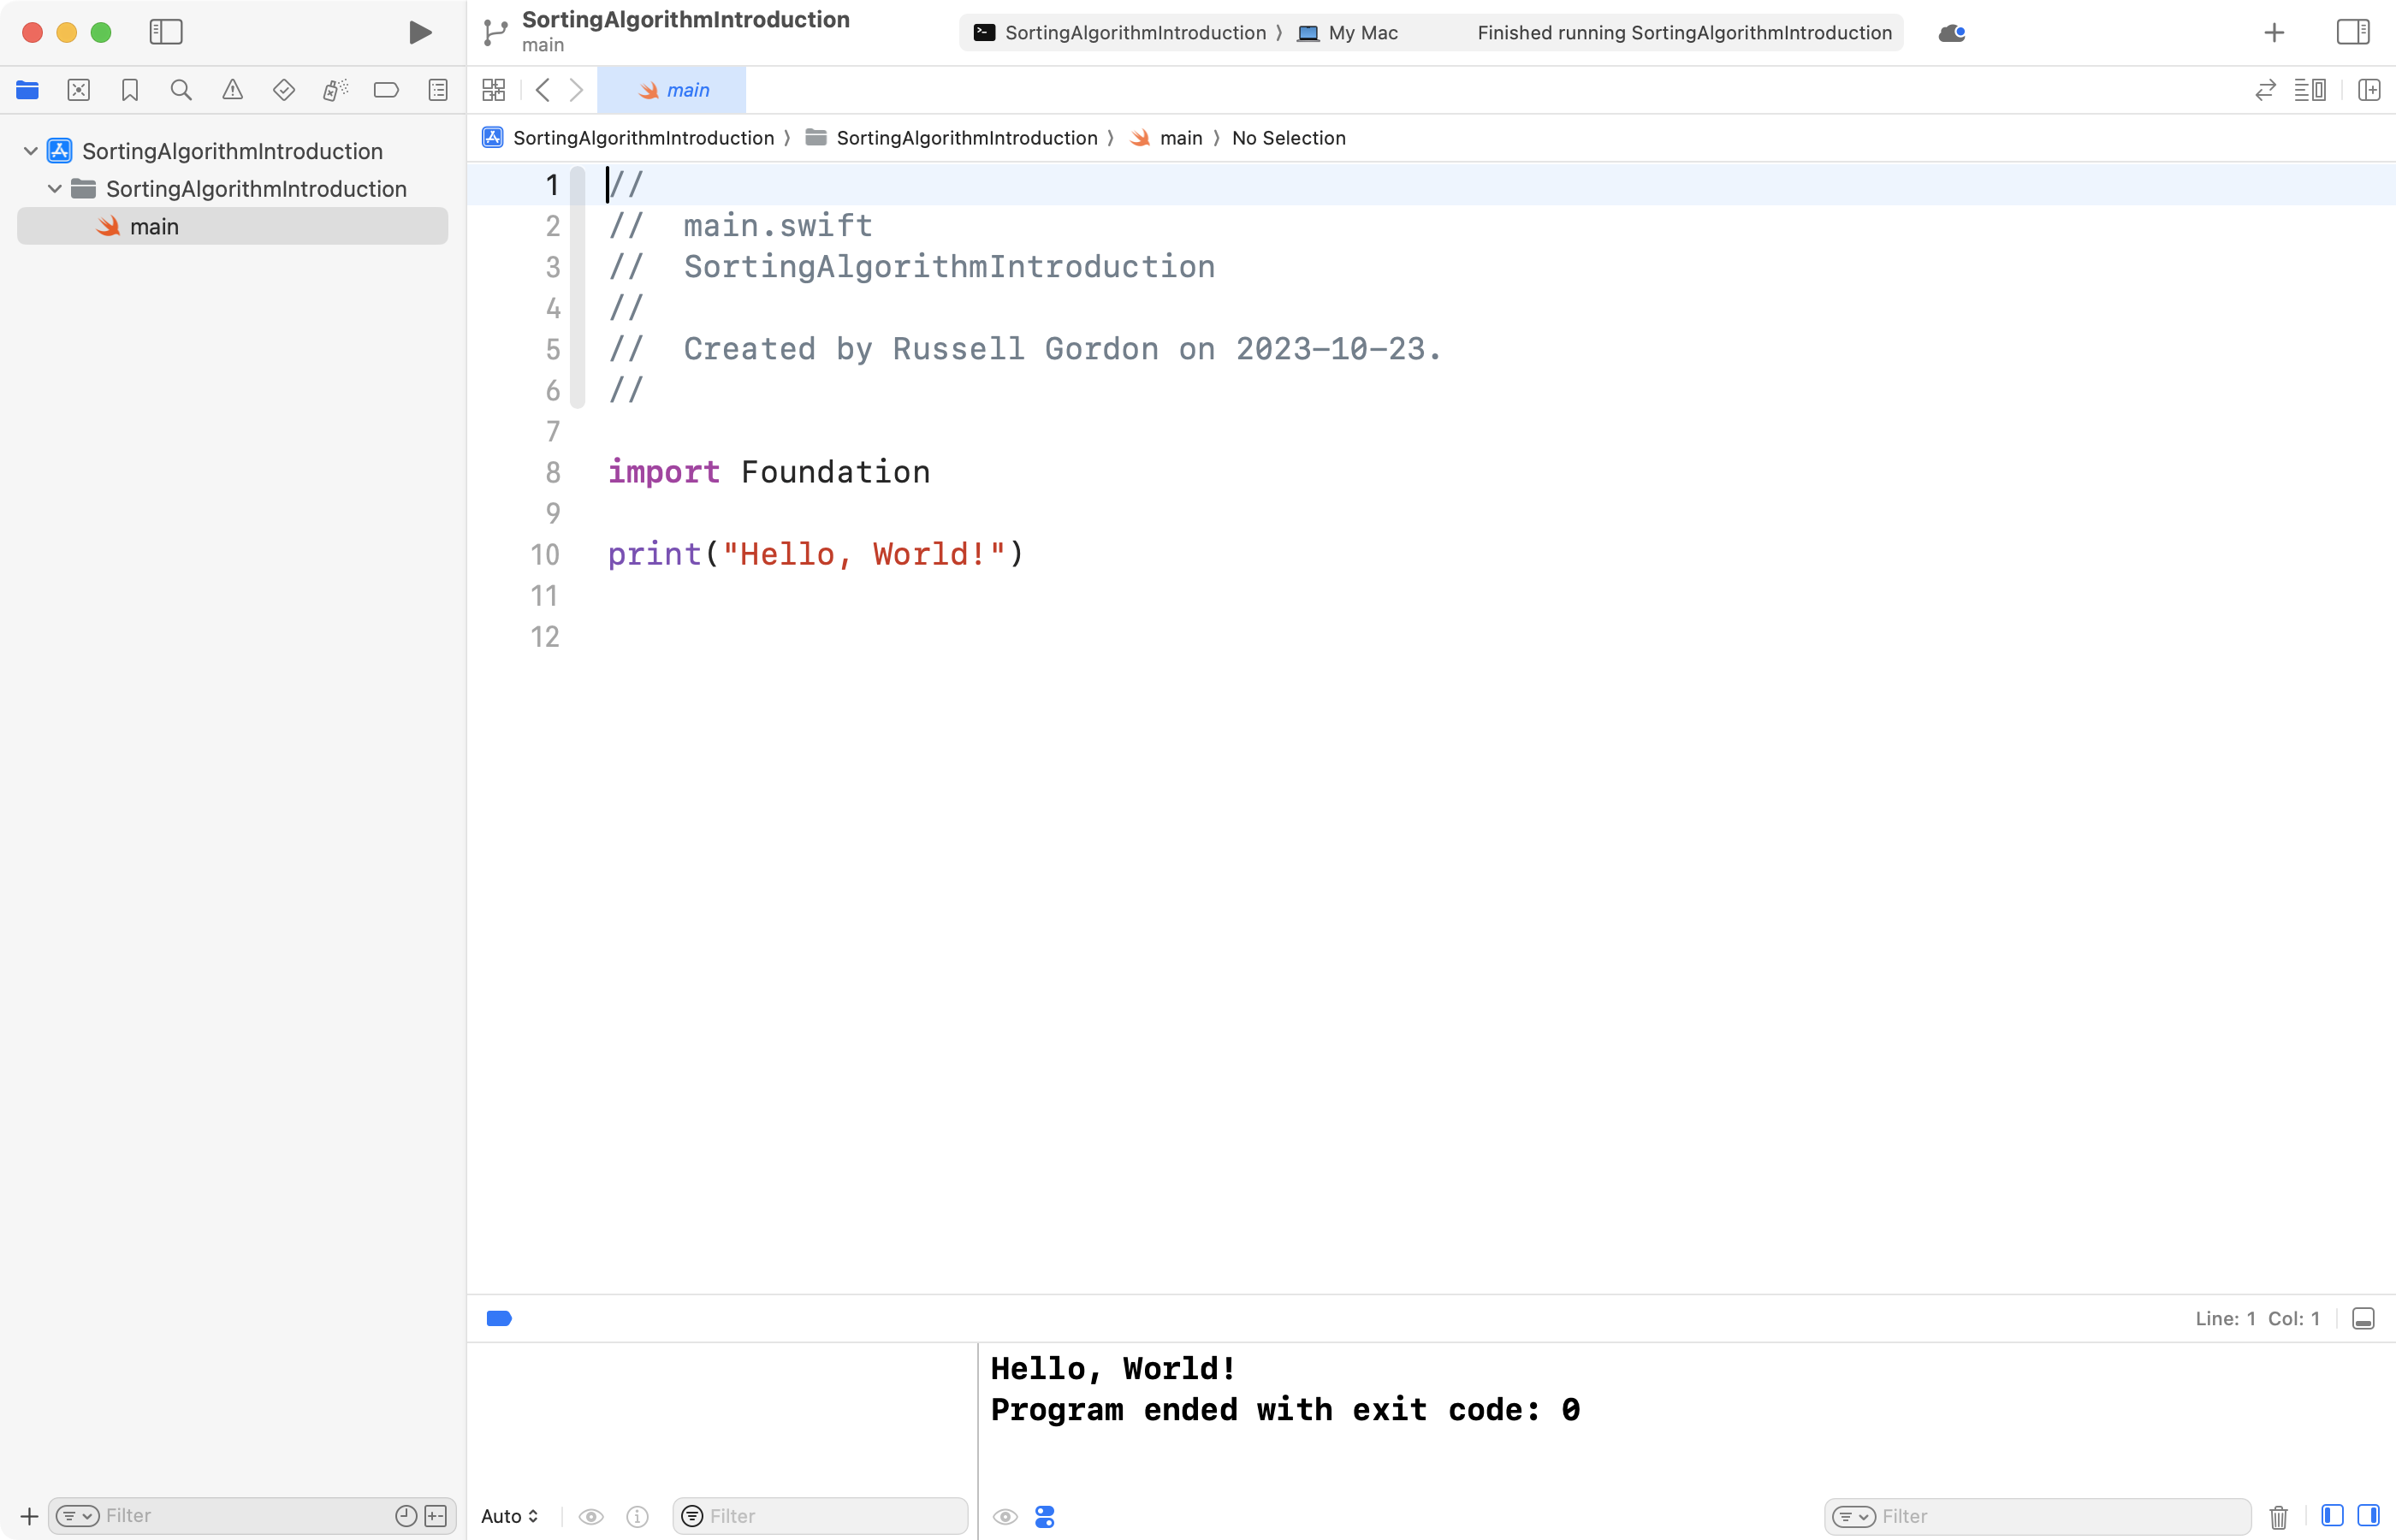
Do not be alarmed by the message:
Program ended with exit code: 0.
That means the program ended without generating any errors.